Home Canning Basics: Safe Methods for Vegetables and Fruits
Home canning is a structured food preservation practice built on a few fundamental principles: acidity, temperature, time, and cleanliness. Understanding how these elements interact allows households to process seasonal fruits and vegetables in a deliberate, methodical way. This article outlines the two principal canning methods used in the United States, the reasoning behind each, and the safety conventions that guide their use.
The information below is educational and describes standard processes as they appear in widely circulated food preservation guidance. It is not a substitute for current official processing charts, equipment instructions, or professional advice from extension services. Anyone new to canning is encouraged to review the most recent USDA-based guidance and local extension resources before beginning.
Because results depend on many variables, including the produce itself, altitude, jar size, and equipment condition, no single method can be presented as universally suitable. The material here focuses on how the processes work and why the rules exist, so that decisions can be made with awareness of the underlying reasons.
Why Acidity Determines the Canning Method
The central dividing line in home canning is the acidity of the food being preserved. Fruits and most fruits-based products, along with pickled vegetables and properly acidified tomato products, generally fall into the high-acid category. Vegetables such as green beans, carrots, corn, beets, and peppers are low-acid foods. This distinction matters because the microorganism that causes the most serious canning-related illness, Clostridium botulinum, can grow in low-acid, low-oxygen environments and is not reliably destroyed by the temperatures reached in boiling water.
Boiling water at sea level reaches approximately 212 degrees Fahrenheit. That temperature is sufficient to inactivate the organisms of concern in high-acid foods, where the acidic environment itself also inhibits their growth. Low-acid foods, by contrast, require temperatures above 240 degrees Fahrenheit to be processed safely in a sealed jar. Only a pressure canner, which raises the internal temperature through increased pressure, can reliably achieve that range under home conditions.
This is why the choice between water-bath and pressure canning is not a matter of preference or convenience. It is determined by the food’s pH and water activity. Recipes that alter acidity, such as adding lemon juice or vinegar to tomatoes, are built around this principle. When a tested recipe specifies an acid addition, the quantity serves a functional role in the preservation process rather than a purely culinary one, and omitting or reducing it changes the safety profile of the finished product.
Acidity is the property that determines which canning method applies. Matching the method to the food is the foundation of every safe canning process.
Water-Bath Canning: Process and Considerations
Water-bath canning is the simpler of the two methods. Jars are filled, fitted with lids, and submerged in boiling water for a specified period. The water must cover the jars by at least one to two inches, and the timing begins only once the water returns to a full rolling boil after the jars are added. The process relies on heat transfer through the water and the jar contents, so factors such as jar size, packing style, and the starting temperature of the food all influence how long processing should take.
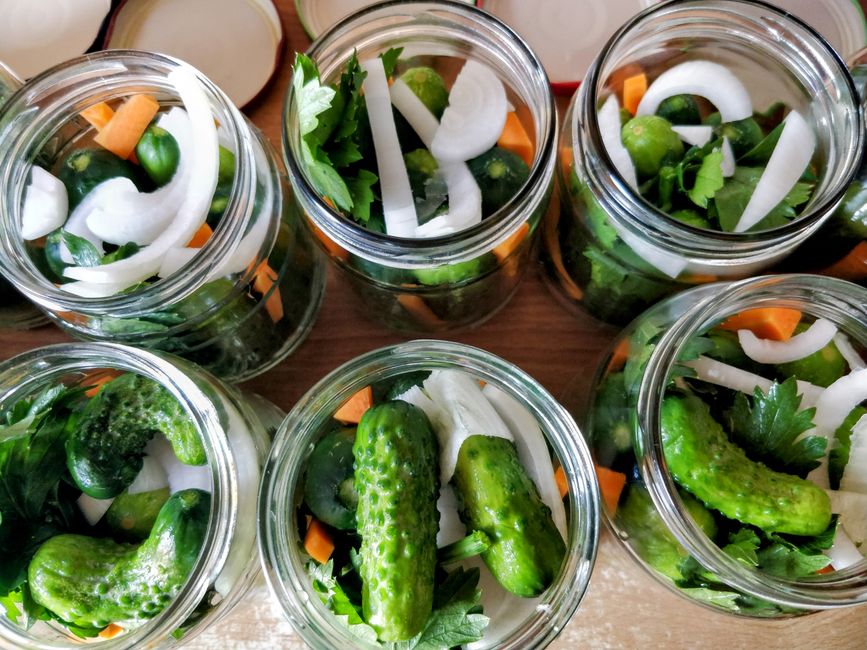
Suitable foods for this method include fruits, jams, jellies, fruit butters, marmalades, pickles, relishes, chutneys, and properly acidified tomato products. Vegetables are not suitable unless they are pickled or otherwise acidified according to a tested recipe. A common misconception is that adding vinegar or lemon juice to a low-acid vegetable makes it safe for water-bath processing; in practice, only recipes specifically developed and validated for acidification should be treated this way, and the proportions must be followed exactly.
Altitude adjustment is an essential part of water-bath canning. As elevation increases, water boils at lower temperatures, so processing times must be extended to compensate. Standard charts provide increments for altitude bands, typically beginning around 1,000 feet. Another practical consideration is headspace, the unfilled space between the food or liquid and the rim of the jar. Too little headspace can cause siphoning, while too much can affect the seal; recipes specify headspace for a reason. Keeping jars, rims, and lids clean during filling also supports a reliable seal.
- Use tested recipes that specify processing time, headspace, and jar size.
- Ensure water covers jars by one to two inches throughout processing.
- Start timing only when the water reaches a full rolling boil.
- Adjust processing time for altitude according to a current chart.
- Allow jars to cool undisturbed after removal, then check seals.
Pressure Canning: Process and Considerations
Pressure canning uses a specialized vessel that seals and traps steam, raising internal pressure and, with it, the boiling point of water. At the pressures used for home canning, internal temperatures can exceed 240 degrees Fahrenheit, which is the threshold needed to destroy the organisms of concern in low-acid foods. This method is required for vegetables, meats, poultry, fish, and mixed recipes containing low-acid ingredients. It is not a faster alternative to water-bath canning for acidic foods, but a distinct process suited to a different category of food.
Pressure canners come in two configurations: dial-gauge and weighted-gauge. Dial gauges require periodic accuracy checks, often annually, through a local extension office or manufacturer service. Weighted gauges regulate pressure through interchangeable weights and do not drift in the same way, though they still require careful handling. The choice affects how processing pressures are read from the charts, so the two types should not be treated interchangeably. A pressure canner is different from a pressure cooker; the latter is generally not designed for canning and lacks the volume and controls needed for the process.
Proper operation involves venting the canner for a set period before pressurizing, bringing the unit to the target pressure gradually, and maintaining that pressure steadily for the full processing time. Pressure that fluctuates or drops requires restarting the timing. After processing, the canner must depressurize naturally; forcing the release of pressure or opening the lid early can compromise the process and is a common source of error. Altitude adjustments apply here as well, with processing pressures increasing at higher elevations to maintain the required internal temperature.
Because the consequences of an inadequate pressure process in low-acid foods are serious, this method deserves particular attention to detail. Following a tested recipe’s jar size, packing method, and processing pressure is not optional guidance; each parameter contributes to the conditions under which the food is preserved. When in doubt, current extension publications and manufacturer manuals provide the specific values for a given food and setup.
Equipment, Jars, and Workspace Preparation
Reliable canning depends on equipment in good condition and a workspace organized for the process. Jars should be designed for canning, free of chips or cracks, and inspected before each use. Two-piece lids, consisting of a flat lid and a screw band, are the standard in the United States; flat lids are typically single-use, while bands may be reused if they remain free of rust and deformation. Glass jars from commercial products are generally not recommended because they may not withstand repeated thermal stress and often lack a compatible sealing surface.
Beyond the vessels, a few basic tools support consistency: a jar lifter for safe handling, a wide-mouth funnel, a bubble remover or plastic spatula for releasing trapped air, and a clean towel or rack for cooling jars. A reliable timer and a thermometer for the water bath are also useful. For pressure canning, the canner itself should be inspected for a sound gasket, a clear vent, and an accurate gauge before each season.
Workspace preparation is about minimizing cross-contamination and keeping the process orderly. Clean countertops, sanitized jars and lids, and a clear flow from filling to processing to cooling reduce the chance of mistakes. Jars should be kept warm while filling to avoid thermal shock, and the area should be free of drafts during cooling. These habits are simple but contribute meaningfully to consistent results, especially when working with seasonal produce in larger batches.
Processing Times, Altitude, and Record Keeping
Processing times are specific values developed through testing, and they vary by food, preparation style, jar size, and altitude. A tested recipe or current official chart is the appropriate source for these numbers; general estimates or inherited notes should not be relied upon without verification. Because the relationship between temperature, time, and food density is central to the process, substituting a different jar size or altering a recipe can change the required processing time in ways that are not obvious to the eye.
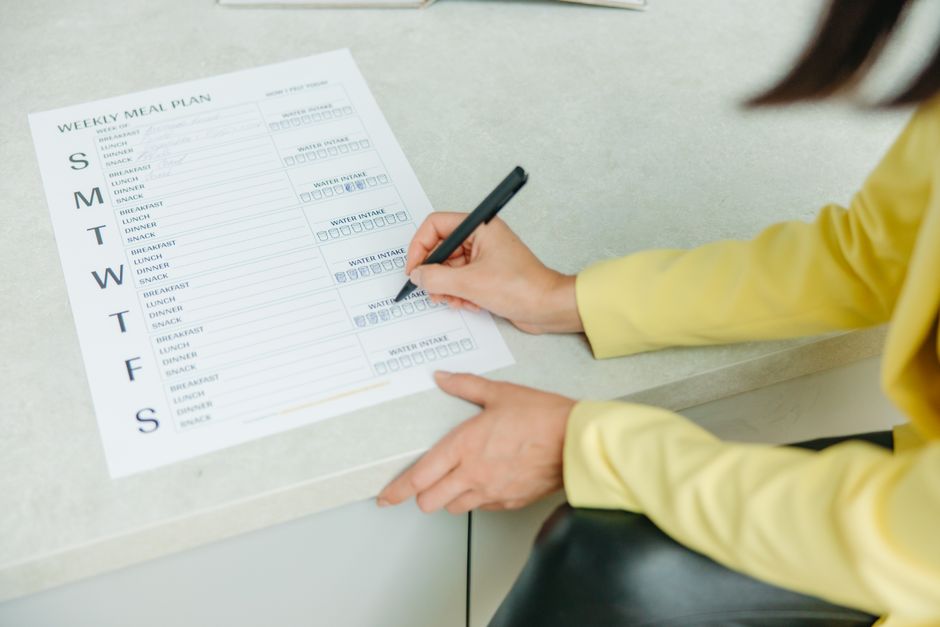
Altitude correction deserves separate emphasis. Both water-bath and pressure methods require adjustment as elevation rises, and the specific increments are published in standard charts. Forgetting this step is a common oversight, particularly for households that have moved or that share recipes across regions. Recording the date, recipe source, processing time, altitude, and jar count for each batch creates a useful record that supports consistency over seasons and makes troubleshooting easier if a seal fails.
After processing, jars should be allowed to cool undisturbed for the recommended period, typically 12 to 24 hours, before seals are checked and labels applied. Any jar that fails to seal should be handled according to current guidance, rather than assumed to be shelf-stable. Storage in a cool, dark, dry place supports quality over time, and periodic inspection of stored jars is a reasonable habit, though it does not replace the need for correct processing in the first place.
Approaching home canning as a set of documented procedures, rather than a single skill, makes the practice easier to understand and to teach. Hearth & Ladle style guidance emphasizes clear measurements, current charts, and careful records as the practical backbone of any preservation routine. With those elements in place, seasonal produce can be worked through methodically, with each step traceable to a reason and each decision grounded in the principles of acidity, temperature, and time.