Simple Sourdough Bread Recipe with Detailed Step-by-Step Instructions
Sourdough bread baking is a process that rewards attention to detail and patience. Unlike commercial yeast breads, sourdough relies on a living starter culture to leaven the dough, which introduces variables that many bakers find both challenging and fascinating. This article outlines a straightforward recipe with defined flour and water ratios, fermentation windows, and shaping methods. The goal is to provide a repeatable framework that can be adapted to different kitchen environments and schedules.
Throughout the process, external factors such as room temperature, flour freshness, and starter vigor influence how the dough behaves. The timings and ratios given here serve as a baseline, not a guarantee. Bakers are encouraged to observe dough texture, volume, and aroma rather than relying solely on the clock. With practice, these observations become intuitive and allow for adjustments that suit individual conditions.
The recipe below is structured to be accessible for those new to sourdough while offering enough depth for experienced bakers to refine their technique. Each stage from starter maintenance to final bake is described with the reasoning behind key actions. The information is presented for educational purposes and does not replace hands-on experience or professional instruction where needed.
Ingredients and Equipment
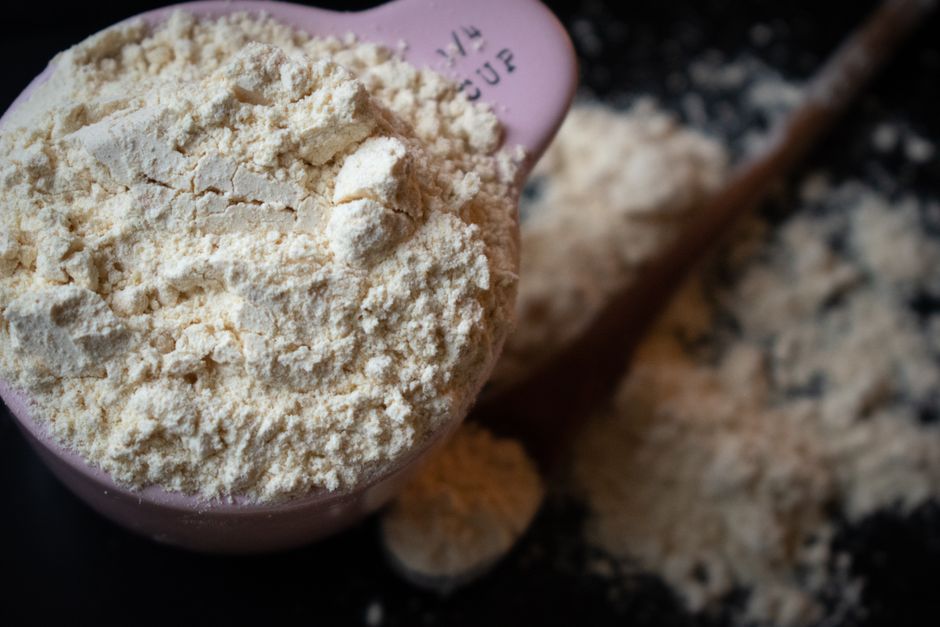
A simple sourdough loaf requires only four ingredients: flour, water, salt, and a mature starter. The type of flour significantly affects hydration needs and flavor development. A medium-protein bread flour, typically around 11–12% protein, provides a balance of structure and extensibility. Whole wheat or rye flour can be added in small amounts to enhance fermentation activity and depth of flavor, though they may require slight adjustments to water quantity.
Water should be filtered or at least free of excessive chlorine, which can inhibit microbial activity in the starter and dough. Salt contributes to flavor and gluten strength; uniodized sea salt or kosher salt is commonly used. The starter must be active and refreshed, showing signs of expansion and a pleasant acidic aroma before mixing. Equipment includes a digital scale for accuracy, a large mixing bowl, a dough scraper, proofing baskets or bowls lined with cloth, and a Dutch oven or covered baking vessel.
Exact ratios for a medium-hydration loaf are as follows: 500 grams bread flour, 350 grams water (70% hydration), 100 grams mature starter (100% hydration), and 10 grams salt. This yields a dough that is manageable for shaping while still producing an open crumb. Bakers can adjust water slightly based on flour absorption and desired crumb structure, but keeping initial changes small helps isolate variables. A digital scale is essential because volume measurements vary widely and can lead to inconsistent results.
Maintaining a consistent starter feeding schedule supports predictable fermentation. A starter that doubles within 4–6 hours of feeding at room temperature is generally ready for mixing.
Mixing and Bulk Fermentation
Begin by combining the flour and water in a large bowl, mixing until no dry flour remains. This step, often called autolysis, allows flour to hydrate and gluten to begin developing. After a 30-minute rest, add the starter and salt. Squeeze and fold the dough until the starter is fully incorporated, which may take several minutes. The dough will feel sticky and somewhat rough at this stage, which is normal.
Bulk fermentation is the first rise, during which yeast and bacteria multiply and produce gases and flavor compounds. Place the covered bowl in a location with a stable temperature, ideally between 75°F and 80°F (24–27°C). Perform a series of stretch-and-folds at 30-minute intervals during the first two hours. To stretch and fold, wet your hand, lift one side of the dough, stretch it upward, and fold it over the center. Rotate the bowl and repeat four to six times. This technique builds gluten strength without kneading.
The duration of bulk fermentation varies with temperature and starter activity. At 75–80°F, it may take 4–6 hours from mixing to the point where the dough has increased by roughly 50–75% in volume. Visual cues include a domed top, visible bubbles on the surface, and a slightly jiggly texture when the bowl is shaken. The dough should feel light and airy, though not fully doubled. Under-fermented dough tends to tear during shaping, while over-fermented dough loses strength and spreads. Bakers should note the time and temperature of each bake to build a personal reference for future batches.
Shaping and Final Proof
After bulk fermentation, turn the dough onto a lightly floured work surface. Pre-shape by gently folding the dough into a loose round or oval, using a bench scraper to help create tension. Let it rest uncovered for 20–30 minutes. This bench rest relaxes the gluten and makes final shaping easier. During final shaping, flip the dough seam-side down and use your hands to create a tight surface tension. For a boule, cup the dough with both hands and rotate it in a circular motion, pulling toward yourself to build tension. For a batard, fold the dough into a log and seal the seam.
Place the shaped dough seam-side up in a proofing basket or a bowl lined with a floured cloth. Cover and refrigerate for 12–16 hours. This cold retard slows fermentation and develops flavor. The dough may not rise much in the refrigerator, which is expected. A properly proofed cold dough feels firm and springs back slowly when poked. If the dough springs back quickly, it may need more time; if it doesn’t spring back at all, it may be over-proofed. These observations guide the baker rather than dictating a fixed outcome.
When ready to bake, preheat the oven to 500°F (260°C) with a Dutch oven or covered baking vessel inside for at least 30 minutes. Remove the dough from the refrigerator, invert it onto a piece of parchment paper, and score the top with a sharp blade. Scoring guides expansion and can be as simple as a single slash or a decorative pattern. Carefully lower the dough into the preheated vessel, cover, and bake for 20 minutes. Then reduce the temperature to 450°F (230°C), remove the lid, and continue baking for 20–25 minutes until the crust is deep brown. The internal temperature should reach about 205°F (96°C) for a fully baked loaf.
Cooling and Evaluation
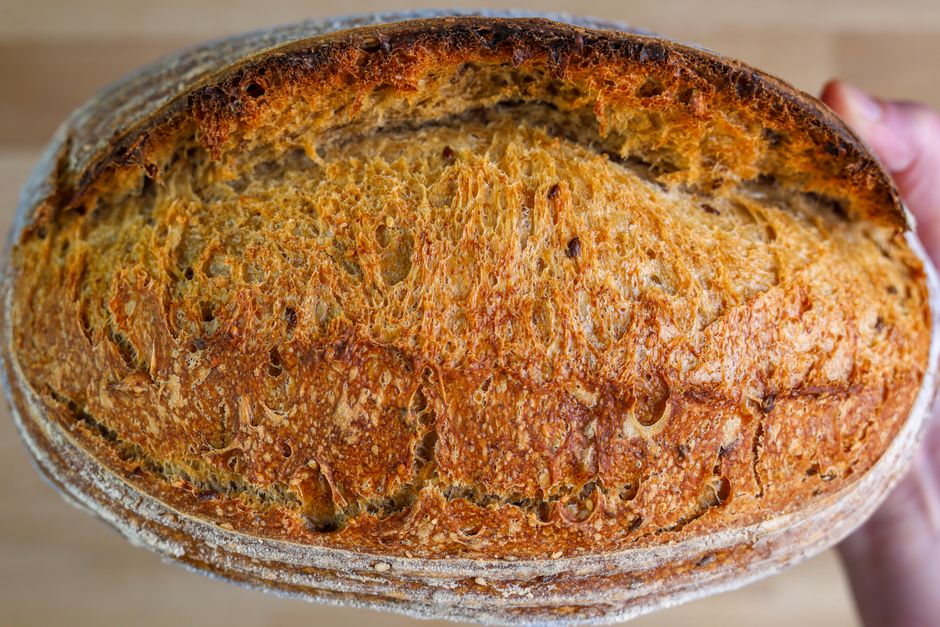
Remove the loaf from the oven and transfer it to a wire rack. Cooling is a critical step that allows the crumb to set; cutting into a hot loaf can result in a gummy texture. Wait at least one hour, preferably two, before slicing. The crust may crackle as it cools, which is a sign of a well-baked loaf. Evaluate the result by examining the crust color, the openness of the crumb, and the flavor profile. A sourdough loaf typically has a chewy crust and a slightly tangy taste, though the intensity varies with fermentation time and starter characteristics.
Record observations for each bake, including room temperature, bulk fermentation time, and proofing duration. This log helps identify patterns and adjust variables in subsequent batches. If the crumb is dense, future doughs might benefit from a slightly longer bulk fermentation or a more active starter. If the crust is pale, a longer uncovered bake or a higher initial oven temperature may help. These adjustments are part of the learning process and should be made one at a time to understand their effects.
Hearth & Ladle emphasizes that sourdough baking is a skill developed through repetition and careful observation. There is no single correct result; preferences for crust darkness, crumb openness, and tanginess vary. The recipe and techniques here provide a stable starting point for exploring those variations.